RemoteIoT SSH example is a critical topic for anyone looking to manage IoT devices securely and efficiently. As IoT ecosystems grow in complexity, the need for secure remote access becomes paramount. Secure Shell (SSH) is one of the most reliable protocols for managing devices remotely, and RemoteIoT leverages this protocol to provide seamless and secure access to IoT devices. In this article, we will explore how to use SSH with RemoteIoT, its benefits, and step-by-step instructions to implement it effectively.
IoT devices are deployed in various environments, from smart homes to industrial settings, making remote management essential. However, managing these devices without proper security measures can expose them to cyber threats. This is where RemoteIoT SSH comes into play, offering a secure way to connect to your devices from anywhere in the world. By understanding the fundamentals of RemoteIoT SSH, you can ensure the safety and efficiency of your IoT infrastructure.
Throughout this article, we will delve into the technical aspects of SSH, provide practical examples, and discuss best practices for using RemoteIoT SSH. Whether you are an IoT developer, system administrator, or tech enthusiast, this guide will equip you with the knowledge to harness the full potential of RemoteIoT SSH while adhering to security standards.
Read also:Top Vmware Alternatives For Virtualization And Cloud Computing
Table of Contents
- What is RemoteIoT SSH?
- Benefits of Using RemoteIoT SSH
- How SSH Works
- Setting Up RemoteIoT SSH
- Step-by-Step Guide to Connecting via SSH
- Best Practices for RemoteIoT SSH
- Common Issues and Troubleshooting
- Advanced Features of RemoteIoT SSH
- Case Study: RemoteIoT SSH in Action
- Conclusion and Next Steps
What is RemoteIoT SSH?
RemoteIoT SSH is a secure method of accessing and managing IoT devices remotely using the SSH protocol. SSH, or Secure Shell, is a cryptographic network protocol that allows secure communication between two devices over an unsecured network. RemoteIoT leverages SSH to provide users with a reliable and secure way to manage their IoT devices from anywhere in the world.
The primary purpose of RemoteIoT SSH is to ensure that device management is both secure and efficient. By encrypting the data transmitted between the user and the IoT device, SSH prevents unauthorized access and data breaches. This is particularly important for IoT devices, which often handle sensitive data and are deployed in critical environments such as healthcare, manufacturing, and smart cities.
RemoteIoT SSH is compatible with a wide range of devices and operating systems, making it a versatile solution for IoT management. Whether you are managing a single device or an entire network of IoT devices, RemoteIoT SSH provides the tools you need to ensure secure and efficient remote access.
Key Features of RemoteIoT SSH
- End-to-end encryption for secure communication.
- Support for multiple authentication methods, including password and key-based authentication.
- Compatibility with various IoT platforms and devices.
- Real-time monitoring and management capabilities.
Benefits of Using RemoteIoT SSH
Using RemoteIoT SSH offers numerous advantages for managing IoT devices. Below are some of the key benefits that make RemoteIoT SSH a preferred choice for secure remote access:
Enhanced Security
One of the most significant benefits of RemoteIoT SSH is its ability to provide enhanced security. SSH encrypts all data transmitted between the user and the IoT device, ensuring that sensitive information remains protected from cyber threats. This is particularly important in industries such as healthcare and finance, where data security is a top priority.
Remote Accessibility
RemoteIoT SSH allows users to access and manage their IoT devices from anywhere in the world. This is especially useful for organizations with distributed teams or devices deployed in remote locations. With RemoteIoT SSH, you can troubleshoot issues, update software, and monitor device performance without being physically present.
Read also:Love In The Spotlight Luke Wilsons Girlfriend In 2024
Scalability
As your IoT network grows, RemoteIoT SSH scales seamlessly to accommodate additional devices. Whether you are managing a handful of devices or an entire fleet, RemoteIoT SSH provides the tools you need to manage your devices efficiently.
Cost Efficiency
By enabling remote management, RemoteIoT SSH reduces the need for on-site visits and manual interventions, resulting in significant cost savings. Additionally, the secure nature of SSH minimizes the risk of costly data breaches and cyberattacks.
How SSH Works
Understanding how SSH works is essential for implementing RemoteIoT SSH effectively. SSH operates on a client-server model, where the client initiates a connection to the server. Below is a breakdown of the SSH process:
Step 1: Establishing a Connection
When a user initiates an SSH connection, the client sends a request to the server. The server responds by providing its public key, which the client uses to encrypt the session key. This ensures that the connection is secure from the outset.
Step 2: Authentication
Once the connection is established, the server authenticates the client. SSH supports multiple authentication methods, including password-based authentication and key-based authentication. Key-based authentication is considered more secure, as it eliminates the risk of password theft.
Step 3: Secure Communication
After authentication, all data transmitted between the client and the server is encrypted using cryptographic algorithms. This ensures that even if the data is intercepted, it cannot be read by unauthorized parties.
Step 4: Session Termination
Once the session is complete, the connection is terminated, and all session keys are discarded. This ensures that no residual data remains that could be exploited by attackers.
Setting Up RemoteIoT SSH
Setting up RemoteIoT SSH involves several steps, from configuring your IoT devices to installing the necessary software on your client machine. Below is a detailed guide to help you get started:
Step 1: Install SSH Client
The first step is to install an SSH client on your computer. Popular SSH clients include OpenSSH (for Linux and macOS) and PuTTY (for Windows). These tools allow you to initiate SSH connections to your IoT devices.
Step 2: Configure IoT Device
Next, you need to configure your IoT device to accept SSH connections. This typically involves enabling the SSH service on the device and configuring the necessary settings, such as port number and authentication method.
Step 3: Generate SSH Keys
To enhance security, it is recommended to use key-based authentication instead of passwords. You can generate SSH keys using tools like ssh-keygen (for OpenSSH) or PuTTYgen (for PuTTY). Once generated, the public key should be added to the IoT device, while the private key remains on your client machine.
Step 4: Test the Connection
After completing the setup, test the connection by initiating an SSH session from your client machine to the IoT device. If everything is configured correctly, you should be able to access the device securely.
Step-by-Step Guide to Connecting via SSH
Connecting to your IoT device via SSH is a straightforward process. Below is a step-by-step guide to help you establish a secure connection:
Step 1: Open Your SSH Client
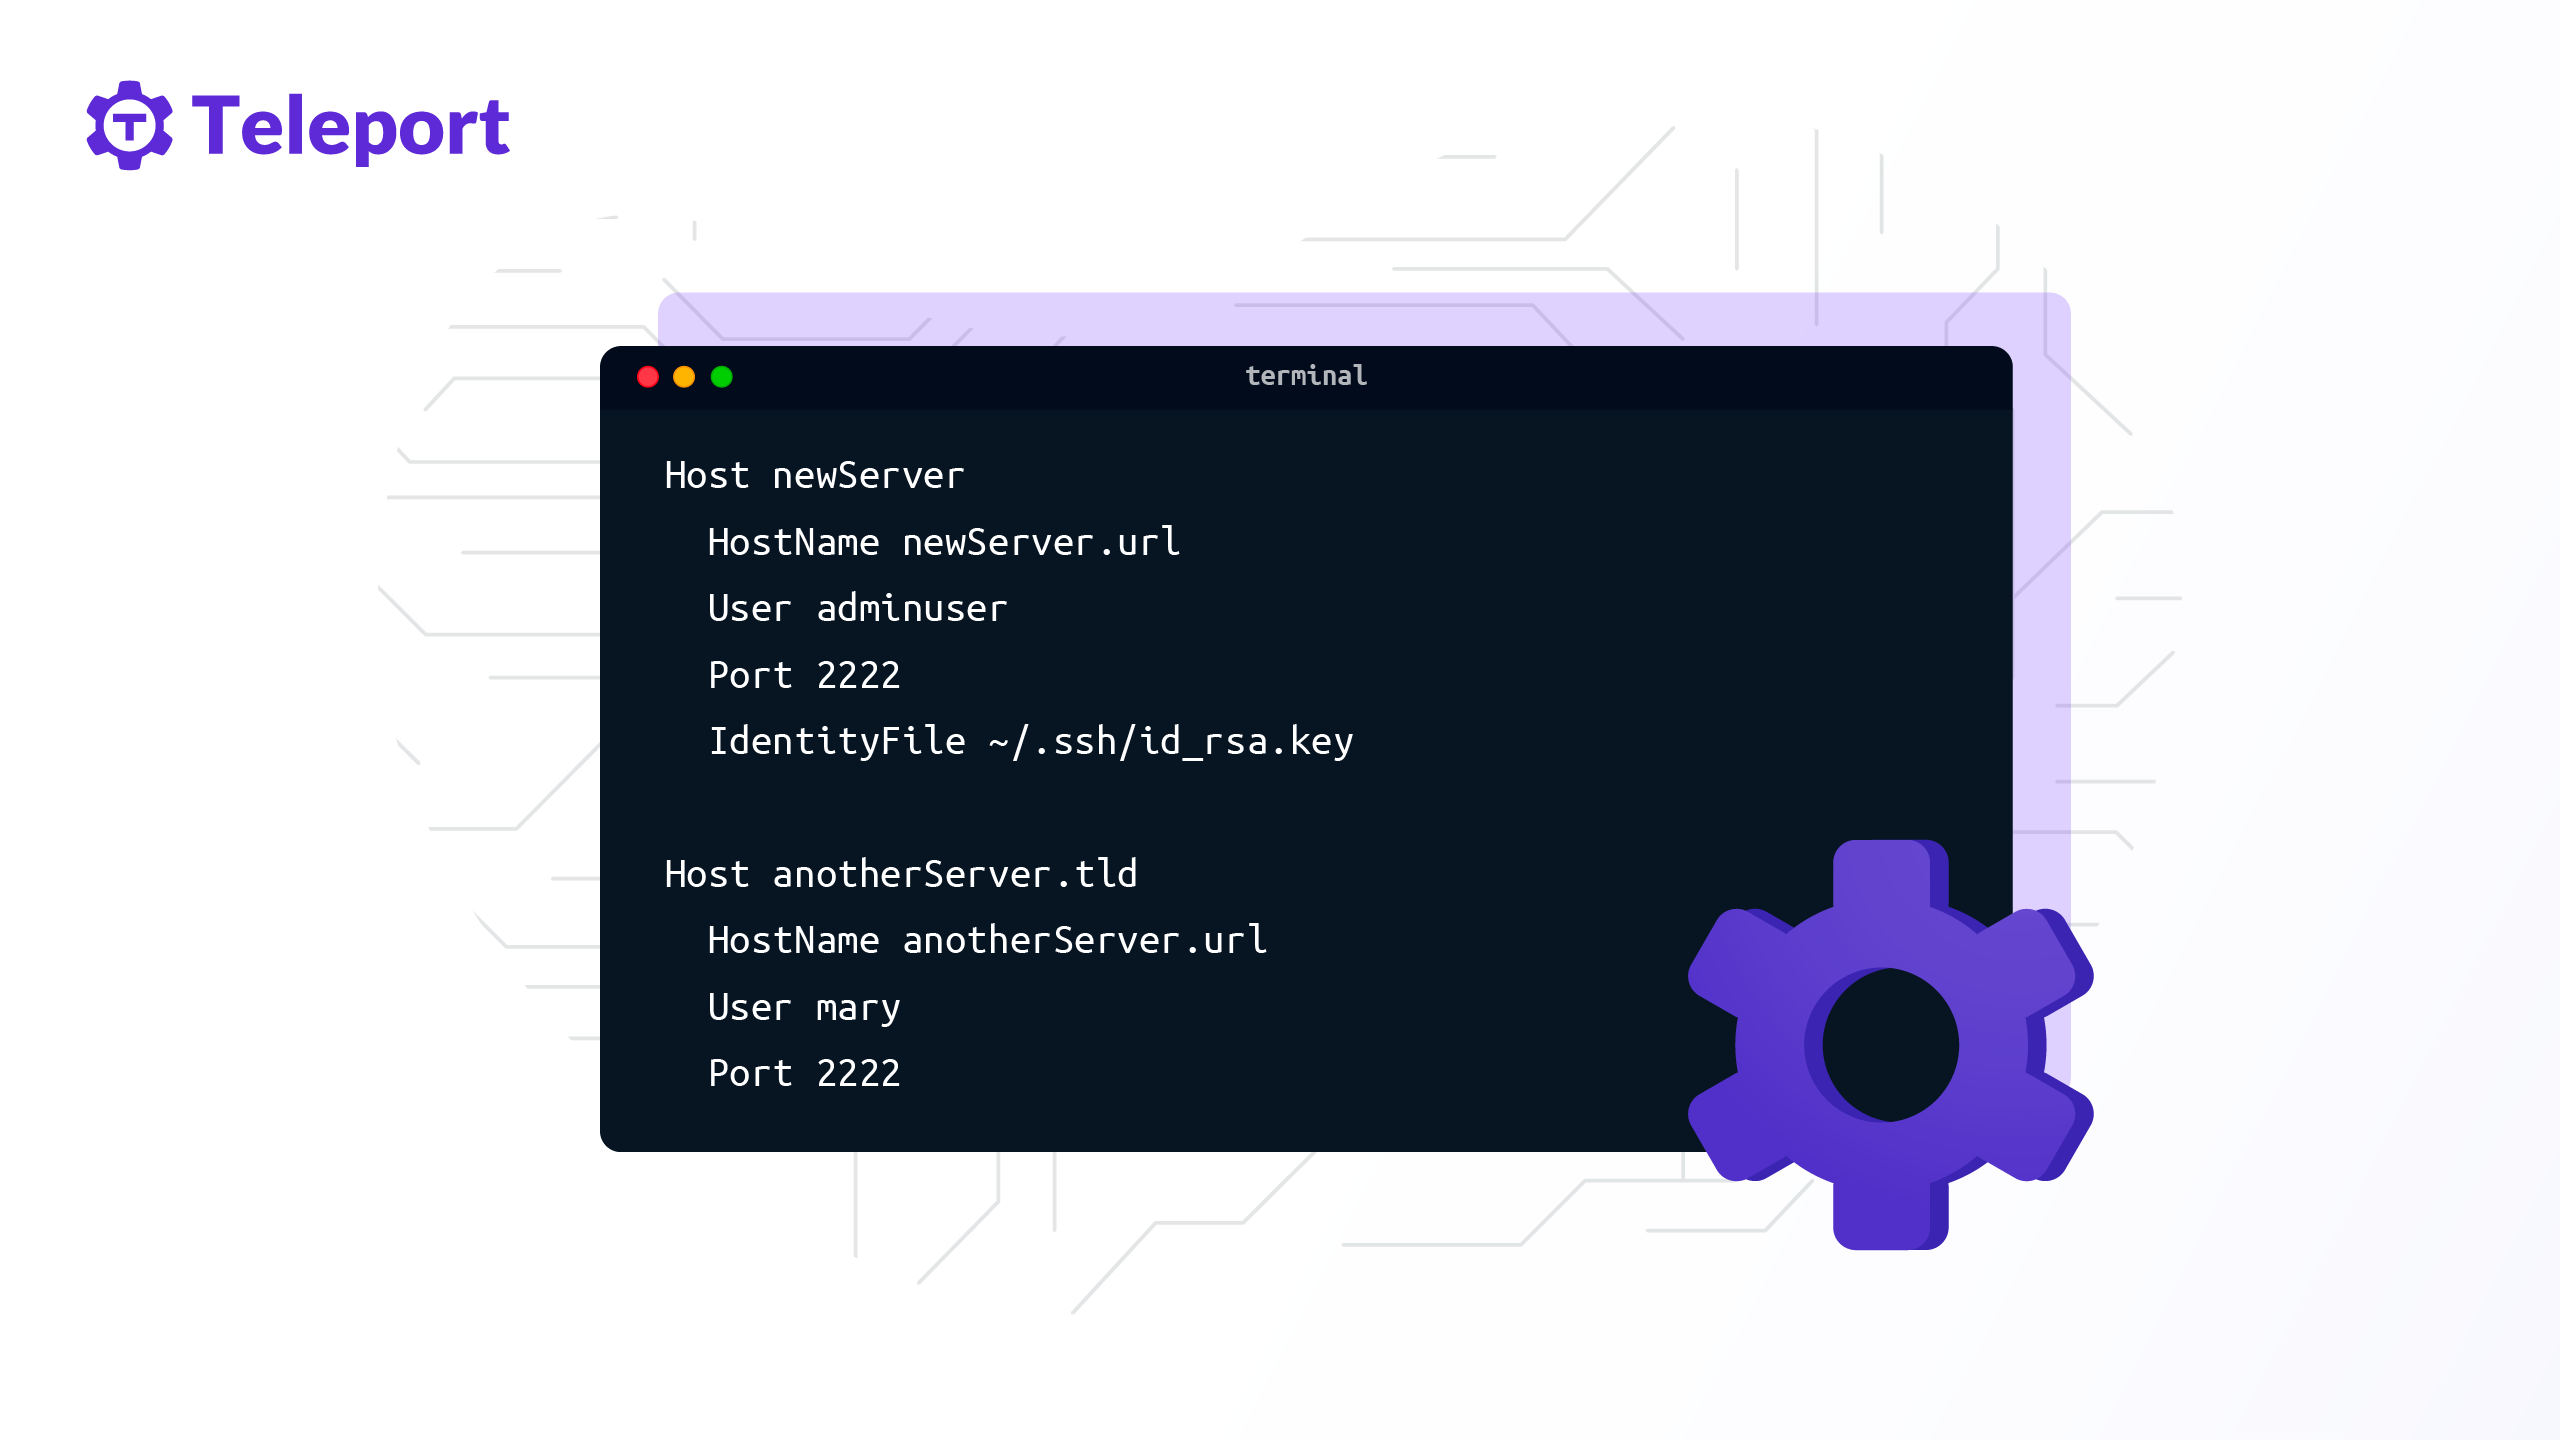
Launch your SSH client and enter the IP address or hostname of the IoT device you want to connect to. Specify the port number if it differs from the default SSH port (22).
Step 2: Authenticate
Depending on the authentication method you have configured, enter your password or provide the private key. If using key-based authentication, ensure that the private key is stored securely on your client machine.
Step 3: Access the Device
Once authenticated, you will gain access to the IoT device's command-line interface. From here, you can execute commands, manage files, and perform other administrative tasks.
Step 4: Terminate the Session
After completing your tasks, terminate the SSH session by closing the client or typing the appropriate command (e.g., "exit"). This ensures that the connection is securely closed.
Best Practices for RemoteIoT SSH
To maximize the security and efficiency of RemoteIoT SSH, it is essential to follow best practices. Below are some recommendations:
Use Key-Based Authentication
Key-based authentication is more secure than password-based authentication, as it eliminates the risk of brute-force attacks. Always use strong, unique keys and store them securely.
Change Default Settings
Avoid using default settings, such as the default SSH port (22). Changing these settings can help reduce the risk of unauthorized access.
Regularly Update Software
Ensure that both your SSH client and IoT device software are up to date. Regular updates patch vulnerabilities and improve security.
Monitor SSH Activity
Monitor SSH activity on your IoT devices to detect and respond to suspicious behavior. Use logging tools to track connection attempts and identify potential threats.
Common Issues and Troubleshooting
While RemoteIoT SSH is a reliable solution, users may encounter issues from time to time. Below are some common problems and their solutions:
Connection Refused
If you receive a "connection refused" error, ensure that the SSH service is running on the IoT device and that the correct port is open. Check firewall settings to ensure that traffic is allowed on the SSH port.
Authentication Failed
If authentication fails, verify that you are using the correct credentials or private key. Ensure that the public key is correctly configured on the IoT device.
Slow Connection
A slow connection may be caused by network issues or high server load. Test your network connection and consider optimizing server performance to improve speed.
Advanced Features of RemoteIoT SSH
RemoteIoT SSH offers several advanced features that can enhance your IoT management capabilities. Below are some examples:
Port Forwarding
SSH supports port forwarding, which allows you to securely access services running on your IoT device. This is particularly useful for accessing web interfaces or APIs.
Tunneling
SSH tunneling enables you to create secure connections between devices, even over unsecured networks. This is useful for connecting to devices behind firewalls or NATs.
Automated Scripts
You can use SSH to automate tasks on your IoT devices by writing scripts. This can save time and improve efficiency, especially for repetitive tasks.
Case Study: RemoteIoT SSH in Action
To illustrate the benefits of RemoteIoT SSH, let's consider a real-world example. A manufacturing company with IoT devices deployed across multiple locations uses RemoteIoT SSH to manage its devices securely. By implementing SSH, the company was able to:
- Reduce on-site visits by enabling remote troubleshooting.
- Enhance security by encrypting all data transmissions.
- Improve efficiency by automating routine tasks.
This case study demonstrates the practical applications and benefits of RemoteIoT SSH in a real-world setting.
Conclusion and Next Steps
RemoteIoT SSH is a powerful tool for managing IoT devices securely and efficiently. By leveraging the SSH protocol, RemoteIoT provides users with a reliable solution for remote access, ensuring that sensitive data remains protected from cyber threats. Throughout this article, we have explored the fundamentals of SSH, provided practical examples, and discussed best practices for using RemoteIoT SSH.
Now that you have a comprehensive understanding of RemoteIoT SSH, it's time to take action. Start by setting up SSH on your IoT devices and experimenting with its features. If you have any questions or need further assistance, feel free to leave a comment below. Additionally, consider exploring